This Repostit guide explains quick start guide in a way that is specific to the Repostit app.
Visual checklist #
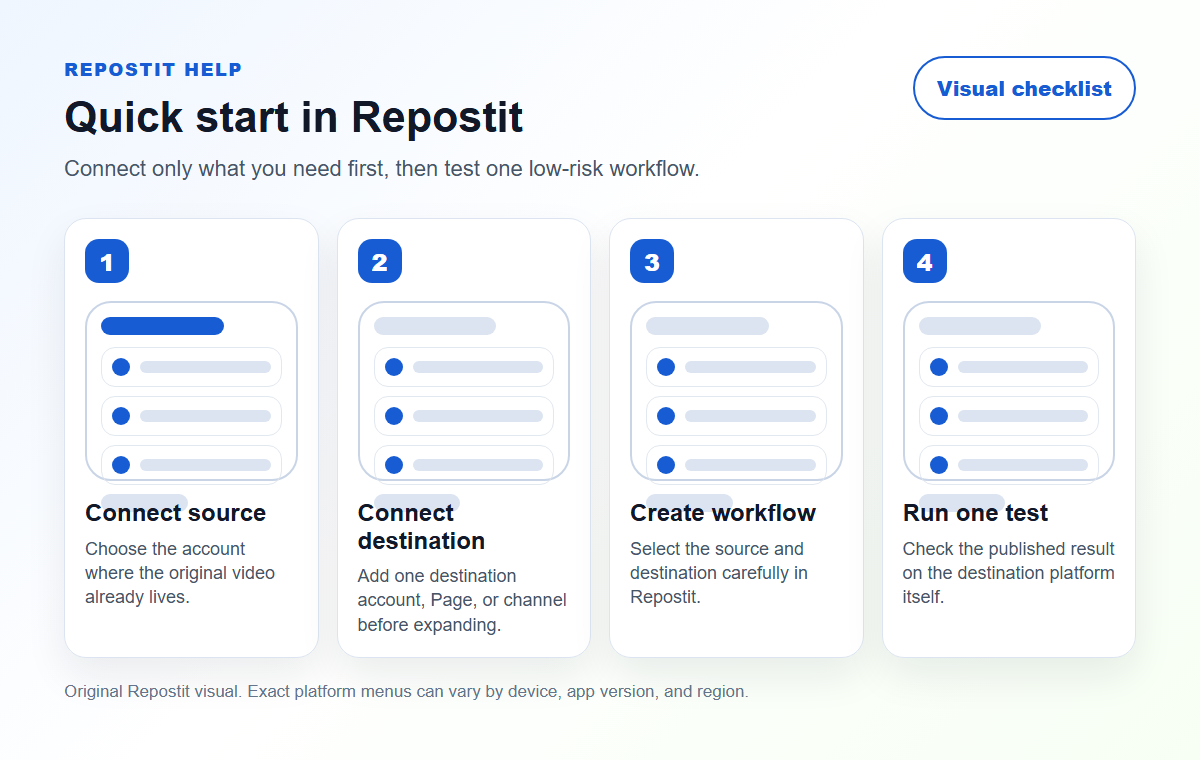
Before you start #
- Make sure you can sign in to the social account you want to connect.
- Use the same browser session when completing the authorization window.
- Check that pop-ups and redirects are allowed for
https://app.repostit.io. - Only connect accounts you own or are authorized to manage.
Set up Repostit #
- Create your Repostit account.
- Connect TikTok, YouTube, Facebook, or Instagram from the Connections page.
- Create a workflow from an existing source or for future posts.
- Review each destination before enabling automation.
- Use the activity page to confirm each repost completed successfully.
Troubleshooting #
- If the connection window does not open, allow pop-ups and redirects for Repostit.
- If the wrong account opens, sign out of the social platform in your browser and reconnect.
- If a post fails, check whether the destination account allows the media type and duration.
- If you still need help, email support@repostit.io.
Practical check #
- Keep the first version simple enough that you can verify it quickly.
- Write down the source account, destination account, and reason for the workflow.
- Review the first result on the destination platform before increasing posting volume.
Quality bar before you rely on this #
Before you treat this as a live Repostit workflow, publish one low-risk test and inspect the result on the connected platforms. A workflow is ready only when the correct source account, destination account, video format, and permission path all match what you expected.
If this is for a client or brand account, write down the source, destination, approval owner, and reason for the workflow. That small note prevents confusion later if someone asks why a post appeared on a specific channel, Page, or profile.


